First of all, open the Microsoft SQL Server Management Studio which is installed from the Client Tools of a MS SQL Server 2008 installation package.
Connect to a MS SQL Server 2008 database instance using the Server Explorer or using the Connect screen.
Then open the Object Explorer window and expand the Databases node.
Here I connected to the local SQL Server 2008 instance and clicked over the Databases node and a list of existing sql server databases are visible in the object explorer window now. Later, I clicked the sql database MyWorks which owns the tables that I want to script data, rows/records of the database.
Continue by right clicking on the database name and open the context menu, chooes Tasks menu and open submenu. Select Generate Script submenu item from the displated list.

Generate SQL Server Script Wizards
When you select the Generate Scripts sub menu item the Generate SQL Server Scripts Wizard starts. SQL administrators and sql programmers can use the Script Wizard to generate t-sql scripts as a t-sql scripter to create scripts for any object (tables, views, schemas, etc). You can work in detail on the Script Wizard and find useful hint that you can benefit in your sql developments.

Select Database to Script
The first step in the Script Wizard is detemining the database to work on. You can choose a sql database among the listed all sql databases existing on the sql server instance.

Choose Script Options
Here is the screen where sql developers can configure the script details, and where developers can shape the automatic generated script according to the applications needs and requirements.
For our case, since we want to script table data which exists in the database that I have selected in the previous steps, we should set the Script Data option to True. You can see that the Script Data option is listed in the Table/View Options sections on the Choose Script Options screen. Since default Script Data option is set to false by default, we should alter this option in order to get an Insert statement for each row in the database table.
Note : Set Script Data option to True

Choose Object Types
This option in the Script Wizard is for the types of the objects we want the script generator to build scripts for. Since we deal with database tables, we will select Tables among the listed options such as Schema and User-defined table types.

Choose Tables
Since we selected Tables in the previous step, the wizard now displays all the tables that exists in the selected sql database. Here as a developer, I make a list of tables that I want to generate table data scripts for. For our sample case, I only select one table.

Output Option
Output Option screen in the Generate Script Wizard is the screen where a sql administrator or a programmer can make a selection among the existing output options. The script generator can create the desired scripts in the forms of a file, also can split the automatic generated script per object basis, or define the file as a unicode file or in ANSI text. A database developer can also select the file name and the output file folder for the script engine to create and place the script file.
Other output options are script to clipboard, just like a Copy-Paste operation and the last option is displaying the generated script on a new query window in the Microsoft SQL Server Management Studio.
I selected the New Query Window option in order to display the generated script by the MS SQL Server 2008.

Script Wizard Summary
Here is the last stop before proceeding to the script generation where database programmers can see which options they have selected and can go back to previous screen and make re-selections in the options for a desired script.

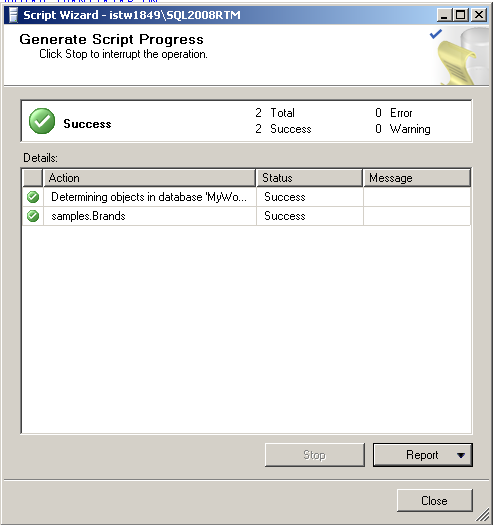
Generate Script Progress
Generate Script Progress screen displays the status of the scripting operation. If an error occurs sql developers and administrators can find the error details on this screen. If everything runs without any error and does not fail, you will see Success status for each scripting action on the progress screen
Data Script on the Query Window
Since as the output option for the scripting, the New Query Window is selected, the final script is displayed on the SQL Server Management Studio Query Editor window as shown below.
This script is formed of a CREATE TABLE script for the source table and following that, INSERT statements for each row in the selected source table.
As you see, any sql developer or any database administrator can use the below script to create a copy of any sql database tables with their data on another sql database or an other sql server instance

So as a summary, I want to say that if you frequently need to move tables from one sql database to an other with its data like me, you can use the Script Data option of the Generate SQL Server Scripts wizard. The Script Data option is a new enhancement in SQL Server Management Studio with the latest version, Microsoft SQL Server 2008. So you should have installed the Client Tools for MS SQL Server 2008 before using this option. SQL programmers can export data as sql script by using one of the existing SQL Server tools, SQL Server Generate Script Wizard.


